为什么会想用Perl来做图片处理呢,一方面是因为图片的格式实在太多,自己用C来实现的话,一定会疯的,用OpenCV或者其他库的话,也挺麻烦的,另一方面,我也只是太闲了而已,主要还是因为无意中看到了这篇博文,同时抱着正好复习一下Perl的想法,就写了这个坑。
用了ImageMagick库,虽然还是用了第三方库,不过,嘛呐~
ImageMagick的配置很简单,官方的说明也很详细,这里就不谈了。
代码如下,因为很简单,就只写了点注释,应该没什么问题。
Codes
use strict;
use warnings;
use utf8;
use 5.010;
use Image::Magick;
foreach my $image_path (@ARGV) {
my ($image, $result) = (Image::Magick->new);
print "Somwthing wrong with $image_path.n"and next if $image->Read($image_path);
my ($convert, $width, $height) = (Image::Magick->new, $image->Get('columns') * 2, $image->Get('rows') * 2);
$convert->Set(size=> $width."x".$height);
$convert->ReadImage('canvas:white');
# A new image instance whose size is 4 times as large as original one's
for (my $x = 0; $x < $width / 2; $x++) {
for (my $y = 0; $y < $height / 2; $y++) {
my (@orig_pixels) = $image->GetPixel(x=>$x,y=>$y);
# original pixels array, in R,G,B order
my (@repl_pixels_R,@repl_pixels_G,@repl_pixels_B,@repl_pixels__);
@repl_pixels_R = ($orig_pixels[0], 0, 0);
@repl_pixels_G = (0, $orig_pixels[1], 0);
@repl_pixels_B = (0, 0, $orig_pixels[2]);
@repl_pixels__ = (0, 0, 0);
$convert->SetPixel(x=>$x*2, y=>$y*2, color=>@repl_pixels_R);
$convert->SetPixel(x=>$x*2-1,y=>$y*2, color=>@repl_pixels_G);
$convert->SetPixel(x=>$x*2, y=>$y*2-1,color=>@repl_pixels_B);
$convert->SetPixel(x=>$x*2-1,y=>$y*2-1,color=>@repl_pixels__);
# R G
# B _
}
}
$convert->Write(filename=>$image_path.".CRT.png", compression=>'None');
# save file
}
实际效果和原博客里的差不多,不过速度比较慢,果然因为不是C写的?(当然ImageMagick库的源代码是C,不过因为主要是Perl在调用所以慢吧,大概。。)
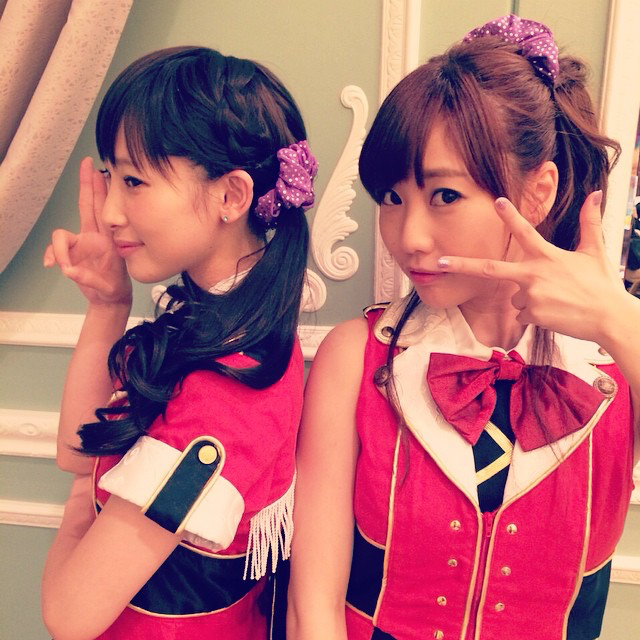
最后上图吧~这次的图略大。南条楠田太可爱了!!!啊啊啊!!!
原图(702KB):
变换之后的图(1.4MB):