这篇 post 是主要是写给 Association of Robots and Artificial Intelligence 的小伙伴的~如何在 macOS / Linux 上设置 Python 3 环境,包括如何使用 MiniConda 来让多个不同的 Python 3 或者 Python 2 环境共存,如何设置 pip 的镜像源等
Continue reading macOS / Linux 上设置 Python 3 环境 —— MiniConda, pip3Monthly Archives: November 2019
Windows 上设置 Python 3.8 环境
这篇 post 是主要是写给 Association of Robots and Artificial Intelligence 的小伙伴的~如何在Windows 上设置 Python 3.8 环境,包括如何设置 pip 的镜像源
Continue reading Windows 上设置 Python 3.8 环境在 Raspberry Pi 4 上安装 64-bit MongoDB Server 服务
啊,算是这个大坑的最后一篇了吧
前一篇是关于编译的,在 Raspberry Pi 4 上安装 64-bit MongoDB Server 服务
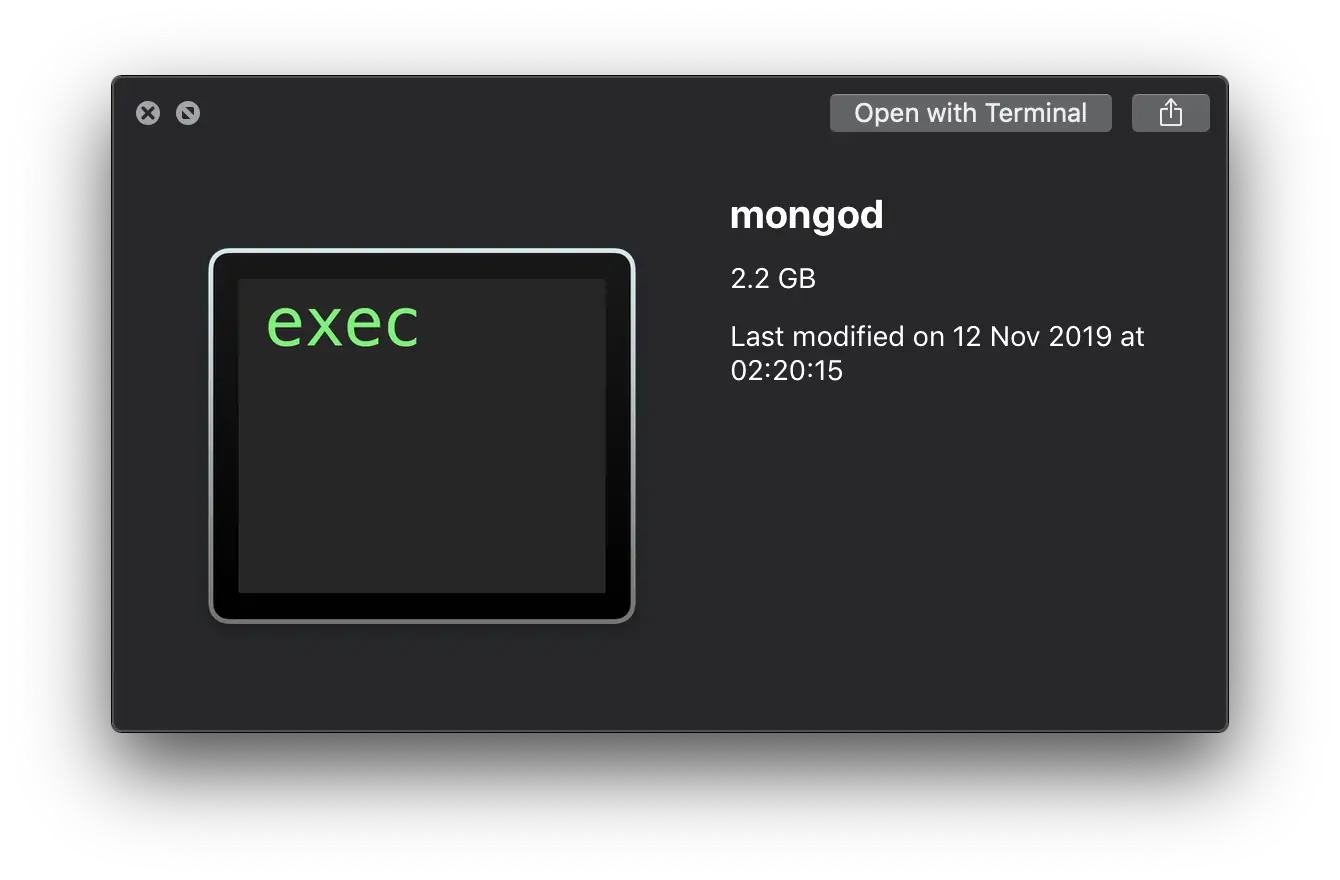
那么在编译完之后,就是安装这个服务了~由于编译时绝大部分是静态链接的,因此上一篇编译出来之后,MongoDB Server r4.2.1 的体积在 2.2GB 左右,emmmmm,有点大。。总之,因为几乎都是静态链接,所以可以做个清洁安装~
在 Raspberry Pi 4 上编译 64-bit 的 MongoDB Server
上次编译了 MongoDB 的 Embedded 版本,不过官方表示那个还只是一个实验中的程序,同时上次编译的还是 32-bit 的 Embedded 版本,因此这次就来编译一个真正可用的 64-bit 的 MongoDB 好了_(:3」∠)_
总的来说倒也没有想象中那么复杂,但是确实有几个可能踩到的的坑
首先我做的就是先让树莓派到 64-bit 环境中,可以参考我的这篇博客,让 Raspberry Pi 4 完全运行在 64-bit 模式下。
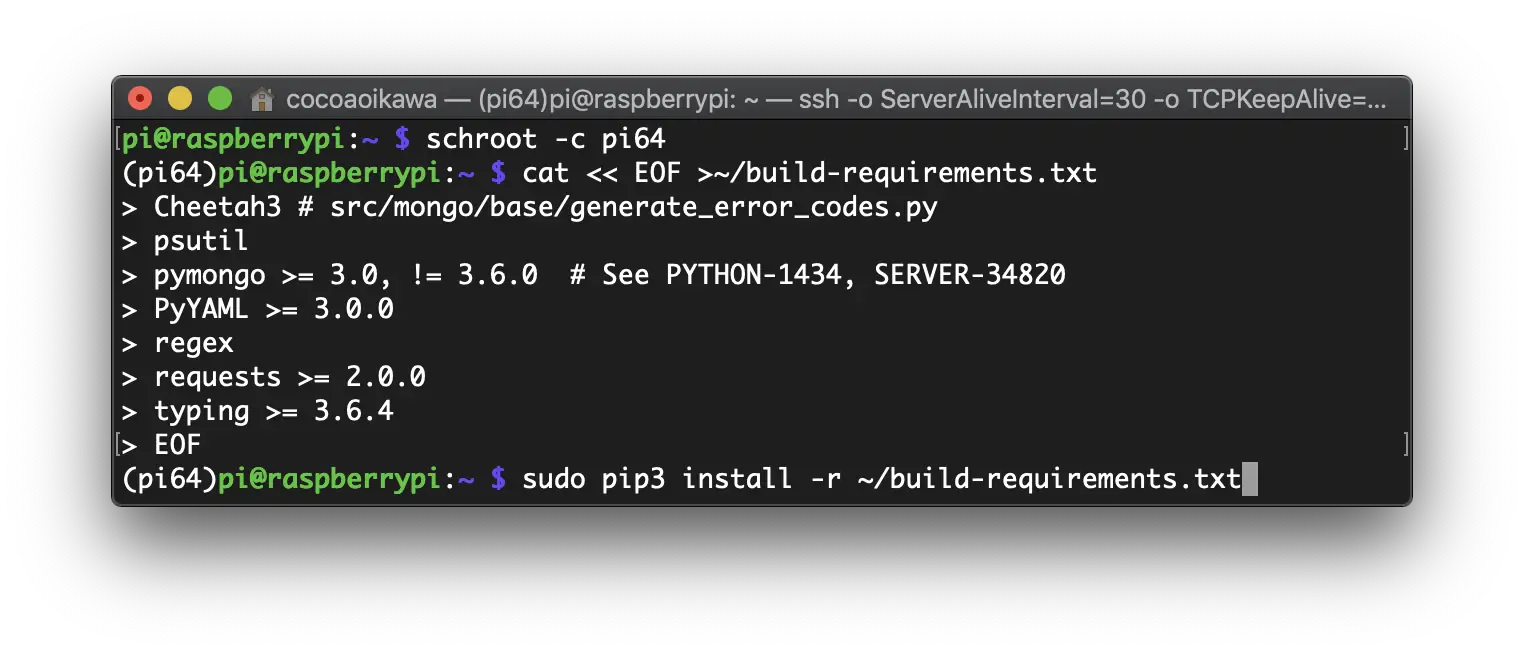
确认 schroot 到 64-bit 环境中之后,同样的,通过 apt 安装必要的依赖
sudo apt install -y scons libssl-dev libffi-dev libcurl4-openssl-dev wget gcc g++ vim cmake python3 python3-pip
包括稍后会用到的 Python 的依赖
cat << EOF >~/build-requirements.txt
Cheetah3 # src/mongo/base/generate_error_codes.py
psutil
pymongo >= 3.0, != 3.6.0  # See PYTHON-1434, SERVER-34820
PyYAML >= 3.0.0
regex
requests >= 2.0.0
typing >= 3.6.4
EOF

sudo pip3 install -r ~/build-requirements.txt
在国内的话,可以指定使用清华大学 TUNA 镜像源
sudo pip3 install -i https://pypi.tuna.tsinghua.edu.cn/simple -r ~/build-requirements.txtContinue reading 在 Raspberry Pi 4 上编译 64-bit 的 MongoDB Server
I, self, mind, immortality and death
Dasein is a being that does not simply occur among other beings. Rather it is ontically distinguished by the fact that in its being this being is concerned about its very being. Thus it is constitutive of the being of Dasein to have, in its very being, a relation of being to this being.
前两周到现在,一直在跟玲讨论一个巨大的话题 —— Immortality and death
在翻了不少文献之后发现,要实现 immortality 的话,目前为止最 promising 的方式则是 mind-uploading ,或者也可以叫 mind-cloning.
mind-uploading,简单来说就是把你的意识「mind」 扫描到计算机里,然后利用计算机来模拟原来的大脑的功能。(暂且让我们假设以后某天可以做到这一点,因为 mind-uploading 技术方面的事情不是本文所关心的内容,但是可以参考 Sandberg and Bostrom 在 2008 年发表的一篇论文)
可是,这样真的算达到了 immortality 吗?
Love, Death and Robots
在 Netflix 原创剧集「Love, Death and Robots」Season 1 Episode 15 中,Rookie 认为他的队友都死了,然而最后大家的意识都被 Bob 投影了出来,这个时候 Hawk 才告诉 Rookie,

也就是说,在那个世界中,一个存在(being,因为不能说是人,也不能简单的说是机器人)的意识是可以被数字化的,被数字化也就意味着有了上传、下载、备份的可能性。同时在这集「Love, Death and Robots」中,编剧也靠 Sui, Hawk, Kali 和 Bob 暗示我们,他认为只要有你的意识的备份存在,你就是一直存在的,即 immortality。
当然,mind 的备份也并非是公开的或者随意的,否则不难想象会有人利用这一点随意作恶等违法的事;同时也包含了 identity 的问题 —— 如果同时出现了两个甚至多个你的话,到底谁才是「你」?
「Love, Death and Robots」的编剧显然也考虑到了这两点,因为 Rookie 一开始是不知道有这项技术的,他是参加了这次作战,且队友不幸“牺牲”才知道的。Bob 在最后告诉迷惑的 Rookie,「You should have read your contract, kid」。也就是说编剧认为,在未来即使对 mind 的复制、备份等是可行的,也不是任何人想做就能做的,很可能是限制在军事行动中,或者只有少数人才有能力做到(包括钞能力hhhhhh)。
其实在剧中编剧也有不少暗示,比如 Sui 在最后面对 Boss 时,头被扯掉了。而通常都认为「大脑」在头上,头与身体分开了,也就无法再控制身体,或者是「死了」。然而后一幕中,眼看 Rookie 无路可逃时,Sui 却站起来了,随之镜头一转,原来 Sui 的「Brain」并不在头上,而是在身体上。其实这里的话,就已经隐约可以感觉到剧中的世界有 mind-uploading 类似的技术了。
Continue reading I, self, mind, immortality and deathHow to put Raspberry Pi 4 in 64-bit mode
I didn't realize that Raspberry Pi 4 worked in 32-bit mode until I compiled MongoDB Embedded. Though Raspberry Pi 4 comes with a 64-bit CPU, it uses 32-bit kernel by default, let alone these userland programs.
Obviously, the compiled MongoDB Embedded was 32-bit too. But fortunately, it was not what I actually want, and after setup 64-bit environment for Raspberry Pi 4 in this post, I can compile a fully-functional MongoDB.

But wait, there seems to be an easier way to put Raspberry Pi 4 to 64-bit mode -- Install Manjaro. However, I don't quite like Arch.
There are basically three steps to get a Raspberry Pi worked in the 64-bit environment.
- sudo rpi-update to get a 64-bit kernel.img
- Specify 64-bit mode by modifying /boot/config.txt
- schroot to get a full 64-bit environment
让 Raspberry Pi 4 完全运行在 64-bit 模式下
于是在我编译完 MongoDB Embedded 之后发现,虽然 Raspberry Pi 4 的 CPU 是 64-bit 的,但是默认使用的还是 32bit 的内核,userland 的程序也都是 32-bit 的。
自然,前一篇编译出来的 MongoDB Embedded 也是
要让 Raspberry Pi 4 完全运行在 64 位模式下的话,有一个似乎简单的方法——安装 Manjaro,但是我不喜欢 Arch。
总体来说分如下几步~
Continue reading 让 Raspberry Pi 4 完全运行在 64-bit 模式下Compile MongoDB Embedded 4.2.1 on Raspberry Pi 4
Recently, I'm planning a new tiny project which can run on a Raspberry Pi 4. Well, actually, it can run anywhere, but given that I already bought a Raspberry Pi 4, why not have some fun on that♪(´ε` )
After considerations, a NoSQL database will be used for this project. And I opt for MongoDB. Although there is a MongoDB on Raspbian repo, the version of that is too old -- it's MongoDB 2.4, whereas the newest version is 4.2.1.
Therefore, to ensure that there won't be too many changes because of the updates of MongoDB in the future, let's use the latest version of MongoDB~ And of course, there will be a long time to compile MongoDB on Raspberry Pi. ( ;´Д`)
At the time of writing, the release version of Raspbian on my Raspberry Pi 4 is
$ cat /etc/os-release
PRETTY_NAME="Raspbian GNU/Linux 10 (buster)"
NAME="Raspbian GNU/Linux"
VERSION_ID="10"
VERSION="10 (buster)"
VERSION_CODENAME=buster
ID=raspbian
ID_LIKE=debian
HOME_URL="http://www.raspbian.org/"
SUPPORT_URL="http://www.raspbian.org/RaspbianForums"
BUG_REPORT_URL="http://www.raspbian.org/RaspbianBugs"
To prepare the compile environment is not really time-consuming, but it will take several hours to do the actual compiling. Anyway, you can faff around while compiling. (*^3^)
Continue reading Compile MongoDB Embedded 4.2.1 on Raspberry Pi 4在树莓派 4 上编译安装 MongoDB Embedded 4.2.1
最近想了一个可以跑在树莓派上的新坑,其实也可以跑在别的地方啦,不过既然都买了新的 Raspberry Pi 4 的话,就拿着折腾一下吧(◐‿◑)。
然后这个新坑我计划需要用到 NoSQL 数据库,最后决定选择 MongoDB。 Raspbian 上虽然有自带的 MongoDB,但是已经相当久远了,还停留在 MongoDB 2.4 版本。
emmmmm,为了确保这个项目以后不会经常因为 MongoDB 的版本更新做改动,那就尽量用最新的 MongoDB 版本吧。于是就要在 Raspberry Pi 上开始漫长的编译啦( ;´Д`)
在写这篇 post 时,我的 Raspbian 系统版本如下
$ cat /etc/os-release
PRETTY_NAME="Raspbian GNU/Linux 10 (buster)"
NAME="Raspbian GNU/Linux"
VERSION_ID="10"
VERSION="10 (buster)"
VERSION_CODENAME=buster
ID=raspbian
ID_LIKE=debian
HOME_URL="http://www.raspbian.org/"
SUPPORT_URL="http://www.raspbian.org/RaspbianForums"
BUG_REPORT_URL="http://www.raspbian.org/RaspbianBugs"
前期准备工作的时间并不算长,但是编译的时间大概就得好几个小时了∑(゚Д゚)不过编译的时候正好摸鱼hhhhhhh
简单来说就是以上 4 步啦~
Continue reading 在树莓派 4 上编译安装 MongoDB Embedded 4.2.1Write a Digital Clock on macOS
昨天打着打着电话,突然玲就问我,macOS 能不能同时显示两个数字时钟,于是我就找了一圈,DashBoard 上虽然可以显示两个,但是都是模拟时钟,而且玲也没买触摸板,在桌面和 DashBoard 之间切换不那么方便。
就计划帮她写一个,于是“产品经理玲”就发给我了一个 prototype (゚o゚;;

写,都可以写(x
Continue reading Write a Digital Clock on macOS