Category Archives: Golang

OK Google, set Telegram as my YouTube music player!

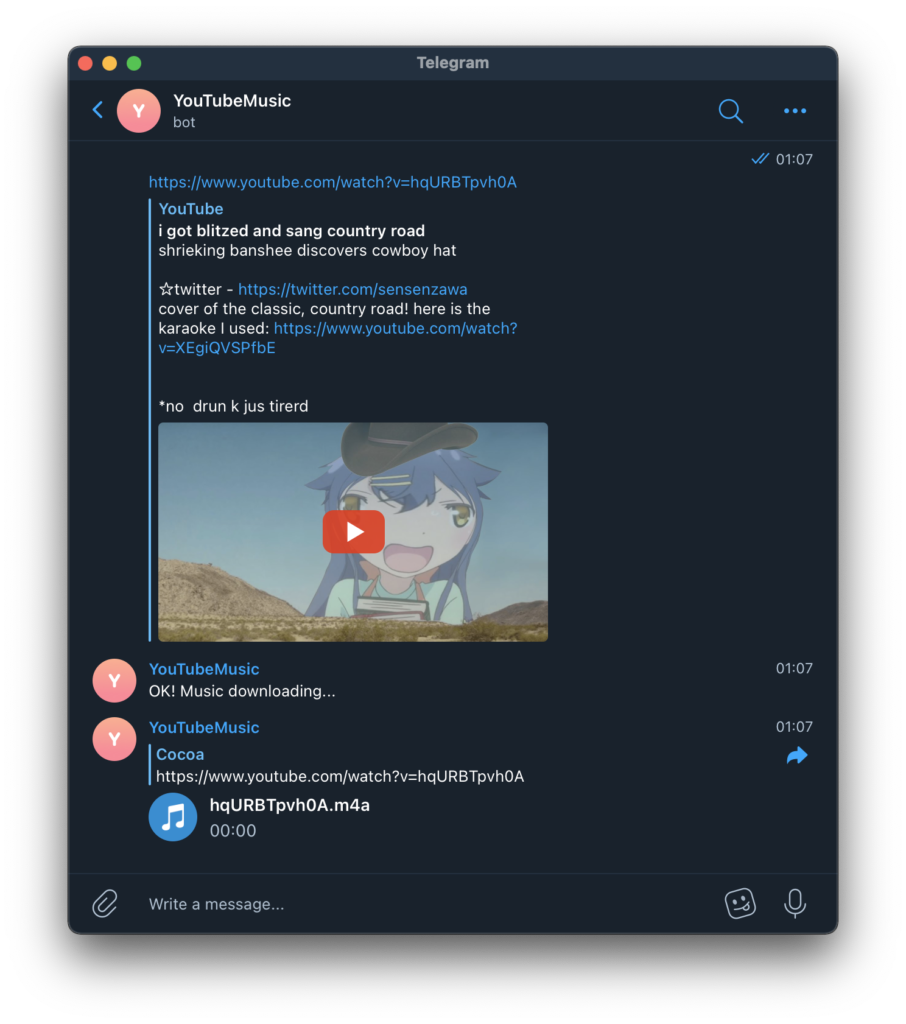
To play music on YouTube in background on a mobile device requires YouTube Premium. Let's just set Telegram as our YouTube music player!

The idea is simple and straightforward. Firstly, apply a telegram bot and secure its token. Secondly, write a bot program that accepts one YouTube URL at a time from telegram user. Next, invoke youtube-dl to get the download URL of the best quality audio. Finally, send the downloaded audio file to corresponding telegram user.

The project is on my GitHub: https://github.com/BlueCocoa/youtube-music-bot

Continue reading OK Google, set Telegram as my YouTube music player!

NextDest

NextDest allows your device that has a public IPv6 address to be automatically registered and updated its DNS record.

With more and more ISPs offering public IPv6 addresses to their users, we can directly access our devices that have a public IPv6 address. But the public IPv6 address of your device can change from time to time and it's extremely hard to memorise an IPv6 address. 

Therefore we have DNS, a solution from a long time ago. Yet it's also boring and painful if we have to set the DNS record by hand.

That's why I wrote NextDest. The client-side detects the public IPv6 address on your device (by sending a request to the server-side, so everything is in your hand). Once it finds any available public IPv6 address, it will send a registration request to the server-side along with predefined device name (so that the server-side can decide which domain name should be updated). If everything works, the client-side will display the latest DNS record and the public IPv6 address of your device.

However, this is NOT the end of the story. If NextDest exposes your public IPv6 address to the Internet, your device could be attacked. 

So NextDest supports 4 modes:

1. direct mode

Internet <-> Endpoint

The real IPv6 on that device will be used for DNS resolving. 

All ports can be accessed from the Internet.

2. proxy mode

Internet <-> nextdest <-> Endpoint

An available IP will be used from your IP pool (defined in CIDR format, in the server-side config file).

Cloudflare (or other) only acts like a DNS, i.e, the real IP will show up in DNS record.

Network traffic is forwarded by NextDest.

Only ports defined in ports (in the server-side config file) can be accessed from the Internet.

3. cdn mode

Internet <-> Cloudflare <-> Endpoint

The real IPv6 on that device will be only used for DNS zone settings

All network traffic will be proxied by Cloudflare (or any equivalent), i.e, only CDN's IP will show up in DNS record.

Only 80 or 443 or other CDN provider allowed ports can be accessed from the Internet.

4. hybrid mode

It is the combination of proxy mode and cdn mode.

Project code

NextDest server-side source code: https://goth lab.com/ryza-cocoa/nextdest-server

NextDest client-side server code: https://gitlab.com/ryza-cocoa/nextdest
记 Golang 下遇到的一回「毫无由头」的内存更改

前两天看到 @Nova Kwok@BennyThink 做了一个 WebP Server,于是 clone 下来玩了一下,发现貌似没有做“原始图像更新后,重新生成相应的 WebP 图像”的功能。好的,这个说起来简单,做起来也很简单,就是 os.Stat 一下,然后取到图像最后修改时间的 UNIX timstamp,STAT.ModTime().Unix(),最后再跟先前生成好的 WebP 文件名比较一下就好(timestamp 会放在生成的 WebP 文件名里)。

上面为止真的都很简单,在 macOS 上测试了一下,看起来没问题~于是就提交 Pull Request

然而 Nova 告诉我说,

Nice PR, but there seems a little problem that the older converted images are not deleted after the change of the original image, this might cause a possible leakage of the original one's content.

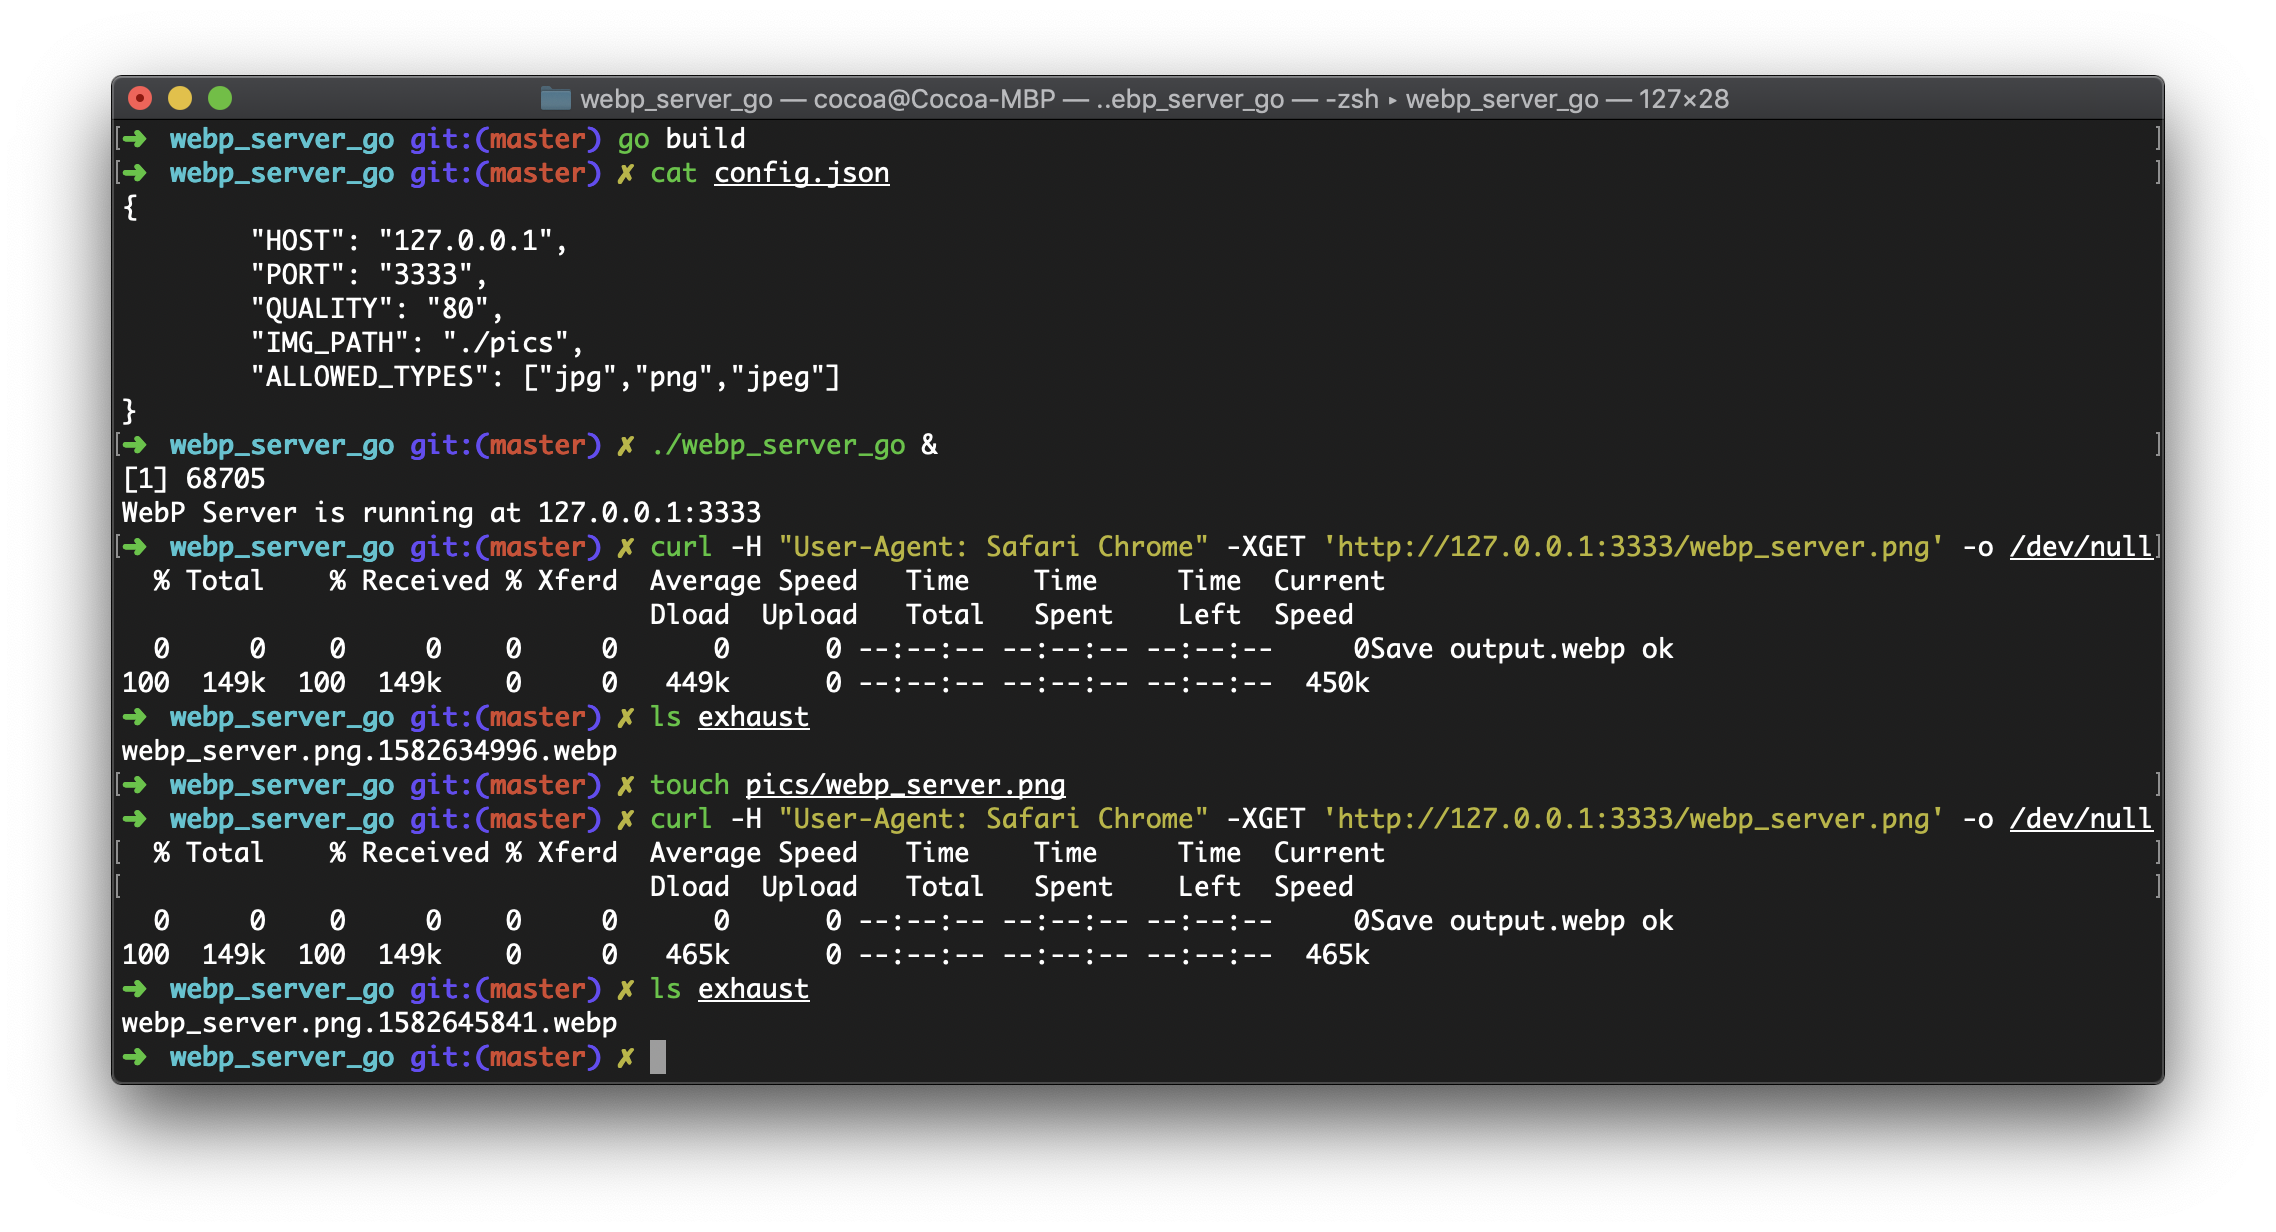
显然我是一头雾水,一开始还以为自己提交 PR 的时候是不是手滑删掉了几行,检查了一下之后发现并没有!然后姑且先把 macOS 上测试的截图 comment 在了 PR 下面。

接着我估计 Nova 应该是在 Linux 下跑的测试,于是就在一台新的 VPS 上安装了 go,把我 fork 且修改过的那份代码 clone 在 VPS 里测试。本来我预估的时候要么是我搞错了文件,要么也许是 Nova 不小心用了以前编译好的文件。然后一测试我就惊了,居然真的没有删除以前生成的 WebP 图像 Σ(・□・;)?!

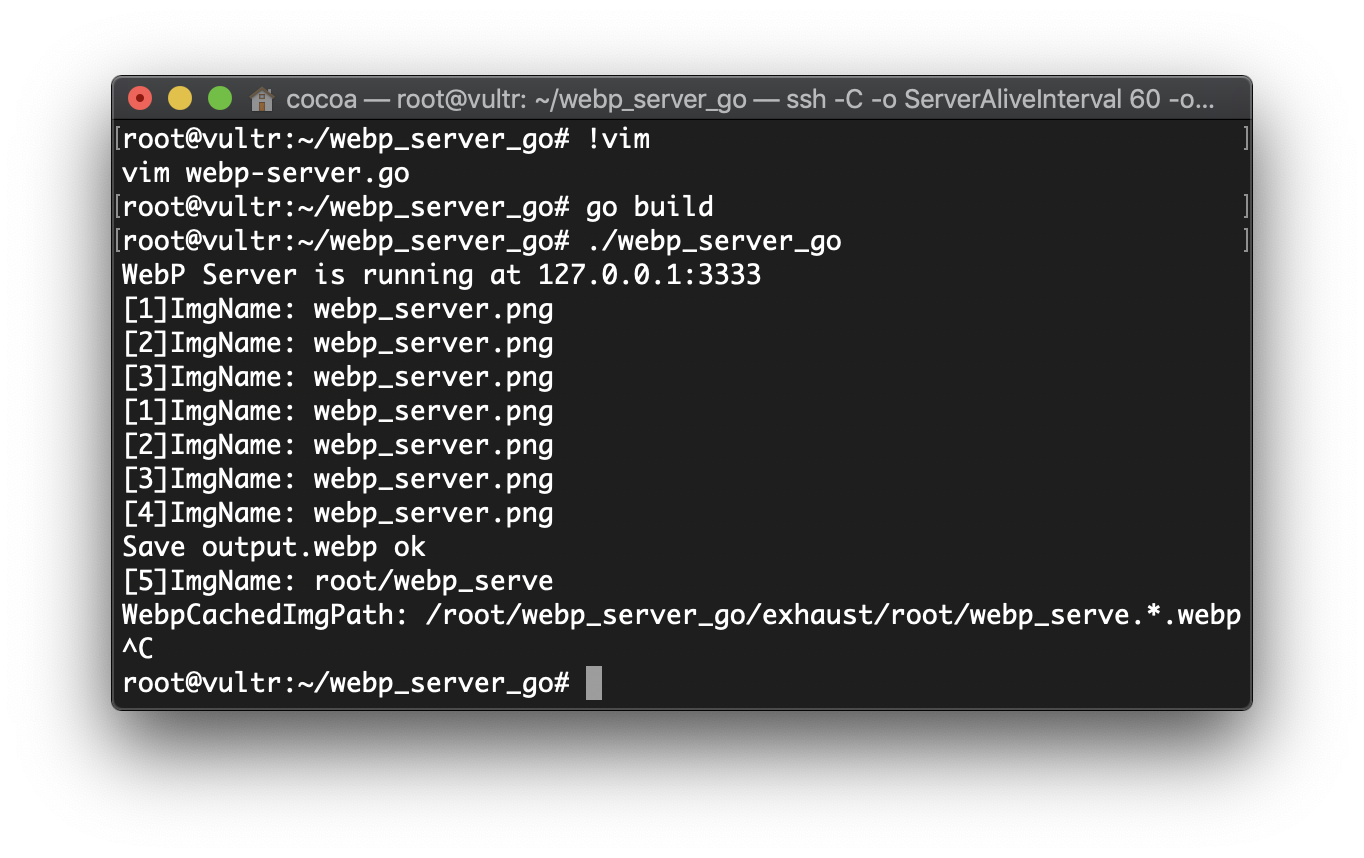
由于没有 Linux 机器,也懒得安装虚拟机了,只能一头雾水的在 VPS 用 fmt.Println 输出来简易 debug 了。根据 fmt.Println 的输出,发现 ImgName 不知道为什么就突然之间被改了!

[1]ImgName: webp_server.png
[2]ImgName: webp_server.png
[3]ImgName: webp_server.png
[4]ImgName: webp_server.png
[5]ImgName: root/webp_serve

上面是在 5 处不同的地方 fmt.Println("ImgName", ImgName) 的输出,虽然我放了这么多,但是实际上在代码里 ImgName 在其作用域内只有过一次赋值,

ImgPath := c.Path()
// ... 略去 10 行左右判断文件扩展名的代码
ImgName := path.Base(ImgPath)

然后就没写过了,仅有读的操作,没有任何赋值,中间只有一次被用来当作 Sprintf 的一个参数

WebpImgPath := fmt.Sprintf("%s/%s.%d.webp", DirPath, ImgName, ModifiedTime)

但显然这个也不会更改 ImgName 的内存嘛。“这不科学!” 虽然想这么叫出来,但是想想这个肯定还是有原因的!

Continue reading 记 Golang 下遇到的一回「毫无由头」的内存更改

使用 Prometheus + Grafana 来监控 Mac Mini 的风扇与温度

其实程序部分也没什么复杂的,就当是个笔记吧~

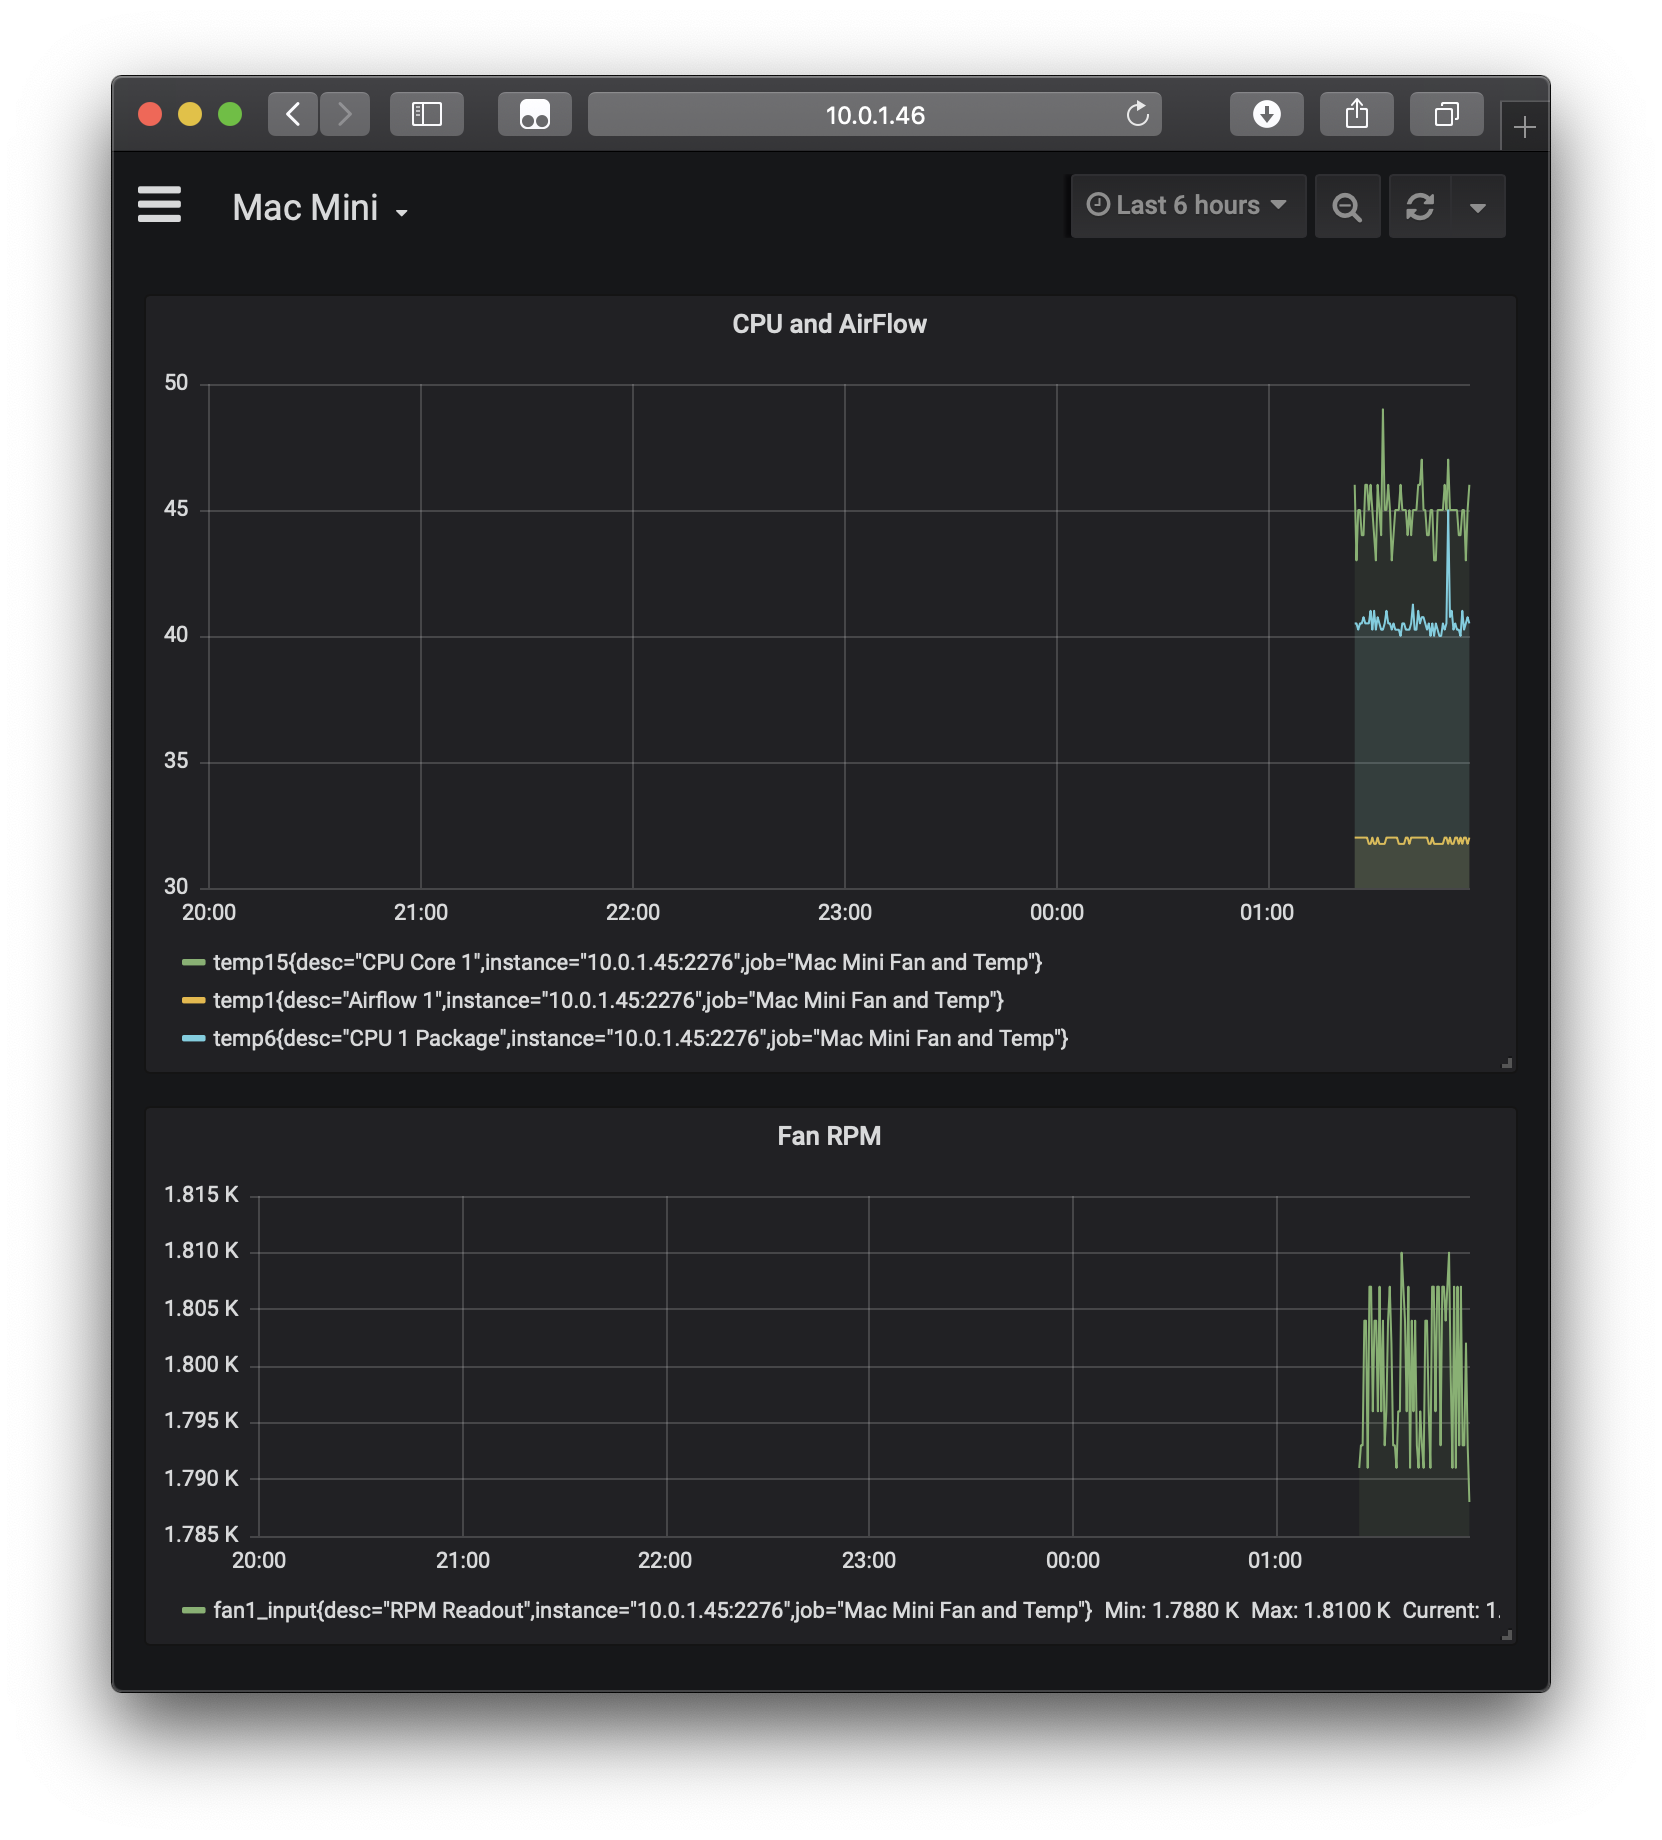
上次给 Mac Mini 安装了 Ubuntu,然后因为学习 Rust,就用 Rust 写了一个 RESTful 的控制风扇的服务;这次就是记录一下使用 Prometheus,Grafana 与 Golang,写个导出 Mac Mini 风扇与温度监控信息到 Prometheus 的坑吧~

(这里我的 Mac Mini 的 IP 地址是 10.0.1.45,Docker 部署的 Prometheus + Grafana 的 Mac 是 10.0.1.46,下面某些配置或者访问的 URL 自行改一下 IP 地址~)

首先就是直接拿 Docker 部署一下 Prometheus + Grafana,这里暂时没有什么好说的。目录结构是

.
└── metrics
    ├── configs
    │   └── prometheus
    │       └── prometheus.yml
    ├── data
    │   └── grafana
    └── docker-compose.yml

data/grafana 是一个空的目录,在下面 docker-compose 设置中会映射给给 Grafana(^O^)

docker-compose.yml 如下

version: '3'
services:
  prom:
    image: prom/prometheus
    ports:
      - "9090:9090"
    volumes:
      - ./configs/prometheus/prometheus.yml:/etc/prometheus/prometheus.yml

  grafana:
    image: grafana/grafana
    ports:
      - "3000:3000"
    volumes:
      - ./data/grafana:/var/lib/grafana
    environment:
      - GF_SECURITY_ADMIN_PASSWORD=secret

上面的 GF_SECURITY_ADMIN_PASSWORD=secret 则是设置了 Grafana 的 admin 用户的密码为 secret,可以根据需要更改一下~

然后是 Prometheus 的配置文件,./configs/prometheus/prometheus.yml,每 5 秒从我的 Mac Mini 上 pull 一次

Continue reading 使用 Prometheus + Grafana 来监控 Mac Mini 的风扇与温度

Toy BlockChain with GoLang

啊,這個只是一個玩具類型的區塊鏈而已~主要關注在區塊鏈的一部分實現上,暫時沒有涉及到分布式相關的問題。這個項目的文件組織如下~

.
 ├── block.go       // Block struct 的聲明以及相關函數
 ├── blockchain.go  // BlockChain struct 的聲明以及相關函數
 ├── cli.go         // 與 command line 相關的代碼
 ├── pow.go         // 一個簡單的 Proof of Work 實現
 └── utils.go       // 輔助函數

首先是 utils.go,這裏聲明了兩個輔助函數,一個是將 int64 類型的數字轉為其對應的字節表示,另一個是檢查 err 的函數

package main

import (
    "bytes"
    "encoding/binary"
    "fmt"
    "os"
)

//  int64 類型轉為其 Byte Respresentation
//
// Parameter
// ---------
//   num: 要轉換的 int64 數字
//
// Return
// ------
//   該數字對應的 Byte Respresentation
func IntToByte(num int64) []byte {
    var buffer bytes.Buffer
    err := binary.Write(&buffer, binary.BigEndian, num)
    CheckErr("IntToByte(num int64) []byte", err)
    return buffer.Bytes()
}

// 檢查是否出錯
// 
// Parameter
// ---------
//   info: 用戶定義的信息
//   err: error 類的實例
func CheckErr(info string, err error) {
    if err != nil {
        fmt.Printf("[ERROR] %s:%s\n", info, err)
        os.Exit(1)
    }
}

接下來是一個簡單的 Proof of Work 的實現,pow.go,這裡我們假定要求的是 SHA256 的最高 16 個 bit 都為 0 才行

Continue reading Toy BlockChain with GoLang