Category Archives: Programming

从零开始的 Rust 学习笔记(0)

----------------------------
| Hello fellow Rustaceans  |
----------------------------
              \
               \
                  _~^~^~_
              \) /  o o  \ (/
                '_   -   _'
                / '-----' \

一点点前言~这个系列一大部分算是学习 Rust 语言的自用笔记,另一部分也算是分享给有需要的人,整体上来说会跟着「The Rust Programming Language」这本书来走,可能偶尔也会突然自己写点什么小东西~

虽然说是自用笔记,但是既然写了还是会尽力让看到的人能够看明白这样子;同时也因为是自用笔记,所以在跟着「The Rust Programming Language」书的时候,并不一定会在所有东西第一次出现时就解释得非常清晰,我会以自己的学习风格为主来写这个系列

首先是安装 Rust,https://www.rust-lang.org/learn/get-started,打开这个链接之后会见到如何安装 Rust 的操作。比如 macOS 或者其他 Unix-like 的系统的话,则是利用如下命令安装

curl https://sh.rustup.rs -sSf | sh
Continue reading 从零开始的 Rust 学习笔记(0)

Magic Image(3)——Implementation in Python3 with Either OpenCV3 or PIL

It has been 3 years since the last update on Magic Image, https://await.moe/2016/09/magic-image2-mathematical-model/, which talked about the mathematical model of creating the mix image.

And to be honest, the Python implementation actually wrote 4 months ago, but it only support OpenCV then. And today, out of personal interest, I added PIL support. Now it could run with PIL only. (But if it detects the existence of OpenCV, that would be preferred)

Continue reading Magic Image(3)——Implementation in Python3 with Either OpenCV3 or PIL

Rewrite the styled code in HTML generated by Apple to WordPress compatible HTML

My first blog writing was in 2013, and at that time, WordPress was able to handle the styled code correctly, i.e., the code preserved the syntax highlight when I copy it from Xcode / CodeRunner and paste into the WordPress editor. The editor was capable of converting or persevering the colour info, and it did a great job of formatting the styled code into HTML.

Just like this post, https://await.moe/2013/08/assertmacros-problem/. The code shown below

typedef int (*PYStdWriter)(void *, const char *, int);
static PYStdWriter _oldStdWrite;

could be nicely formatted into the corresponding HTML code

<span style="color: #bb2ca2;">typedef</span> <span style="color: #bb2ca2;">int</span> (*PYStdWriter)(<span style="color: #bb2ca2;">void</span> *, <span style="color: #bb2ca2;">const</span> <span style="color: #bb2ca2;">char</span> *, <span style="color: #bb2ca2;">int</span>);
<span style="color: #bb2ca2;">static</span> <span style="color: #4f8187;">PYStdWriter</span> _oldStdWrite;

However, it was about the time WordPress upgraded to 3.9, the aforementioned functionality was removed. Although there are tens of syntax highlighting plugins, but I don't really like the colour schemes they offer. Besides, sometimes I may need to highlight a small portion of code. Such as this post, https://ryza.moe/2017/05/the-reason-that-codesign-remove-signature-generates-malformed-macho-still-remains-mystery/

/*
* If this has a code signature load command reuse it and just change
* the size of that data.  But do not use the old data.
*/
if(object->code_sig_cmd != NULL){
    if(object->seg_linkedit != NULL){
        object->seg_linkedit->filesize += arch_signs[i].datasize - object->code_sig_cmd->datasize; 
        if(object->seg_linkedit->filesize > object->seg_linkedit->vmsize)

As you can see, using native HTML code could enable extra control and functionality.

Continue reading Rewrite the styled code in HTML generated by Apple to WordPress compatible HTML

Brainfuck Interpreter in C++17——A Modern Approach to Kill Your Brain

It has been a long time that I wrote my last C++ code. And obviously, C++ has released the new standard, C++17, for a few months. There are a lot features in which has been introduced or changed.

One out many is the pattern matching using std::variant, std::monostate and std::visit. This feature could lead the data-oriented design easier in modern C++. And it's not that hard to write a (possibly buggy) brainfuck interpreter with this feature.

Although with that said, we still need some extra 'hacking' to achieve a more elegant code style. There is a blog post by Marius Elvert explaining a two-line visitor in C++, with which you could write a few lambda expressions in one visitor and then the std::variant could be dispatched by the receiving type of those lambda.

auto my_visitor = visitor{
    [&](int value) { /* ... */ }
    [&](std::string const & value) { /* ... */ }
};

To accomplish the goal, Marius found that lager just uses two lines of code. The details are explained in aforementioned blog post. And for the readability of the code today, I just substituted the name of the struct.

And if you're in a hurry, the full code is on my GitHub, #/brainfuck-cpp17

template<class... Ts> struct brainfuck_vm : Ts... { using Ts::operator()...; };
template<class... Ts> brainfuck_vm(Ts...) -> brainfuck_vm<Ts...>;

And the next step is to define all the 8 valid ops of brainfuck.

Continue reading Brainfuck Interpreter in C++17——A Modern Approach to Kill Your Brain

Just for fun: Compile time fibonacci

所以继续摸个鱼,用 C++ 模版编程写个 fibonacci 计算

当然一开始只是顺手玩玩了,因为 C++ 这里的模版匹配其实挺像函数式编程的(似乎还有人曾用 C++ 的模版匹配来做过 SAT solver 的样子)

先把 C++ 编译时的放在下面,一会儿再补一个正经函数式编程的代码,然后再加一个更优雅的函数式实现(Elixir),最后用 Python 和 C++ 再模仿一下函数式的吧~

Continue reading Just for fun: Compile time fibonacci

Have some fun with C++ template programming and compile time string obfuscation

嗯,摸鱼的时候看到了一个 C++ 编译时混淆字符串的实现,urShadow/StringObfuscator. (然后还顺便又玩了一下 C++ 模版编程)

怎么说呢,这样的通过C++模版来现实的编译时混淆其实特征还是相对比较明显的,另有一种也是在编译的时候去混淆,但是则是由编译器/编译器插件来现实的。

至于说性能的话,直观来说对于绝大多数日常应用,两种方式相比不做混淆来讲,也没有可观察到的区别。不过我也没去做benchmark,有兴趣的倒是可以一试。

urShadow/StringObfuscator 使用上比较简单,但相比编译器插件的方式,还是会需要对代码做出一定的修改。

#include <iostream>
#include "str_obfuscator.hpp"

int main(int argc, const char * argv[]) {
    std::cout << cryptor::create("Hello, World!").decrypt() << std::endl;
    return 0;
}

总的来说实现上很简单,很直接,利用 C++ 模版参数取到要混淆的字符串的长度 S与其本体 str。

Continue reading Have some fun with C++ template programming and compile time string obfuscation

SIGGRAPH 2018 「Semantic Soft Segmentation」复现笔记

santa
santa

SIGGRAPH 2018这篇论文主要分为两大部分,第一部分是 DeepLab v2+ResNet101 训练出来用于获取输入图像的 high-level feature 网络,对于输入的 $I = (h, w, 3)$ 图像,为每一个像素点生成一个 128 维的特征向量,因此该网络的输出是 $F = (h, w, 128)$

接下来,使用 $F$ 和 $I$ 进行引导滤波,$F_{filtered} = imguidedfilter(F, I, 10, 0.01)$,在引导滤波这个地方,OpenCV中的 cv2.ximgproc.guided_filter 与原作者使用的 matlab 中实现的 imguidedfilter 有不小区别,于是我对着 matlab 中 imguidedfilter 的实现重写了一下 OpenCV 版的,imguidedfilter-opencv

在计算完了 $F_{filtered}$ 之后,利用 PCA 将它压缩到 3 维,$F_{PCA} = PCA(F_{filtered}, 3)$,如下图。

santa PCA
santa PCA

Continue reading SIGGRAPH 2018 「Semantic Soft Segmentation」复现笔记

Dijkstra's Shortest Path First algorithm

#include <iostream>
#include <vector>
#include <stack>

using namespace std;

/*
 输入
 6
 9
 0 1 2
 0 2 3
 1 2 2
 1 3 4
 2 3 1
 2 4 3
 3 4 2
 3 5 7
 4 5 4
 */
int main(int argc, const char * argv[]) {
    // 一共有多少个顶点
    int n;
    cin >> n;
    
    // 初始化这个
    int64_t * graph = new int64_t[n * n];
    for (int row = 0; row < n; row++) {
        for (int col = 0; col < n; col++) {
            graph[row * n + col] = INT64_MAX;
        }
    }
    
    // 一共有多少组边
    int p;
    cin >> p;
    for (int i = 0; i < p; i++) {
        // 依次输入每一条边
        int start, end, distance;
        cin >> start >> end >> distance;
        // 假设我们是无向图
        // 无向图具有对称性~
        graph[start * n + end] = distance;
        graph[end * n + start] = distance;
    }
    
    // 保存定点是否被访问过
    vector<bool> visited;
    visited.resize(n);
    
    // 保存源点到各点的最短距离
    vector<int64_t> distance;
    distance.resize(n);
    // 起始点到自己的距离是0
    distance[0] = 0;
    // 其余各点都是正无穷
    for (int i = 1; i < n; i++) {
        distance[i] = INT64_MAX;
    }
    
    // 保存路径的数组
    vector<int> path;
    path.resize(n);
    
    // 从源点开始吧/
    int current = 0;
    while (true) {
        // 标记当前节点已经访问
        visited[current] = true;
        // 找出当前点可以一步访问到的所有的点
        for (int i = 0; i < n; i++) {
            if (visited[i] == false && // i 没有被访问过
                graph[current * n + i] != INT64_MAX // 并且current可以走到i这个顶点
                ) {
                //  0 ->...-> current -> i
                int64_t access_i_via_current = distance[current] + graph[current * n + i];
                //  0 ->...-> i
                int64_t access_i_via_other_path = distance[i];
                
                // 如果经过当前的点
                // 可以使得到 i 的距离变短的话
                if (access_i_via_current < access_i_via_other_path) {
                    // 那么更新路径~下面这个赋值的意思是
                    // 下标 i 这个点
                    // 应该从 current 来更近
                    path[i] = current;
                    // 更新距离
                    distance[i] = access_i_via_current;
                }
            }
        }
        
        int64_t new_minimum = INT64_MAX;
        for (int i = 0; i < n; i++) {
            // 从还没有访问过的点中
            if (visited[i] == false) {
                // 找出有着最小距离的点扩展
                if (distance[i] < new_minimum) {
                    current = i;
                    new_minimum = distance[i];
                }
            }
        }
        
        // 如果所有的点都访问过了
        // 那么这个 new_minimum 就还是初始值 +INF
        if (new_minimum == INT64_MAX) {
            // 此时就说明可以结束了
            break;
        }
    }
    
    cout << "minimum distance 0->" << n-1 << " is " << distance[n - 1] << '\n';
    
    // 保存最短路的路径
    stack<int> minimum_path;
    // 从最后一个点往回看
    current = n - 1;
    minimum_path.push(current);
    while (minimum_path.top() != 0) {
        // 从某个点到 current 是最近的
        // 把那个点放进去~
        minimum_path.push(path[current]);
        // 再来准备看是哪个点  那个点最近
        current = path[current];
    }
    
    // 按顺序输出整条路径
    while (!minimum_path.empty()) {
        cout << minimum_path.top() << ", ";
        minimum_path.pop();
    }
    cout << endl;
}

01背包~四次元背包里都会装上什么呢~\(≧▽≦)/

啊w 01背包呐~给出一堆不可拆分的东西,它们有各自的重量和对你来说相应的价值,但是你的背包能装的最大重量是有限的,这个时候要如何选择装哪些东西使得背包里的东西有着最大的总价值呢~

Continue reading 01背包~四次元背包里都会装上什么呢~\(≧▽≦)/

来下围棋吧~TensorFlow minigo~

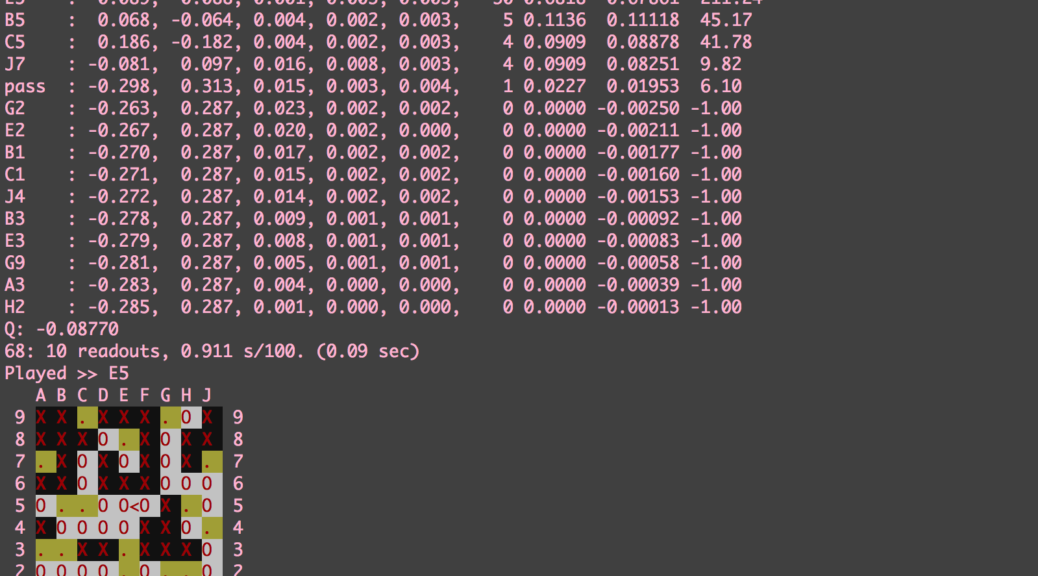
TensorFlow 早些天发布了一个名为 minigo 的项目,因为 Google 官方还一直没有开源 AlphaZero,那么就先来看看 minigo 怎么玩(搞事情)吧www

假设乃使用的是 macOS / Ubuntu / debian,当然其他系统也可以,操作大同小异。

首先是安装 Python 3,macOS 下默认是 python2.7,新的 Python 3 需要去 Python 官网下载,https://www.python.org/downloads/。对于 Ubuntu / debian 来说的话,则是直接

apt-get install python3

当然,比较新的 Ubuntu / debian 都会默认安装 python3.6~

Continue reading 来下围棋吧~TensorFlow minigo~